Are you struggling to keep products, portfolios, and testimonials separate from blog posts? This can create a chaotic layout. WordPress provides only “Posts” and “Pages.” These work for basic blogs but are limited for portfolios, products, events, or testimonials. Creating a custom post type helps you organize content more effectively and offers a tidier solution.
Custom post types (CPTs)—special content types beyond posts and pages—let you create dedicated sections for your Website’s content. For example, a library could add a “Books” section, while a business might add a “Team Members” area. This keeps your content organized and easy to manage.
This guide outlines two primary strategies for creating a custom post type in WordPress: using a specialized plugin or writing custom code. We’ll help you determine which approach best fits your comfort level with technical tasks and your site’s needs. To get started, decide if you prefer a plugin’s simplicity or want direct control with code. After covering both options, a troubleshooting section will help you navigate everyday challenges, making it easy to select and implement the right method for your website.
Table of Contents
📝
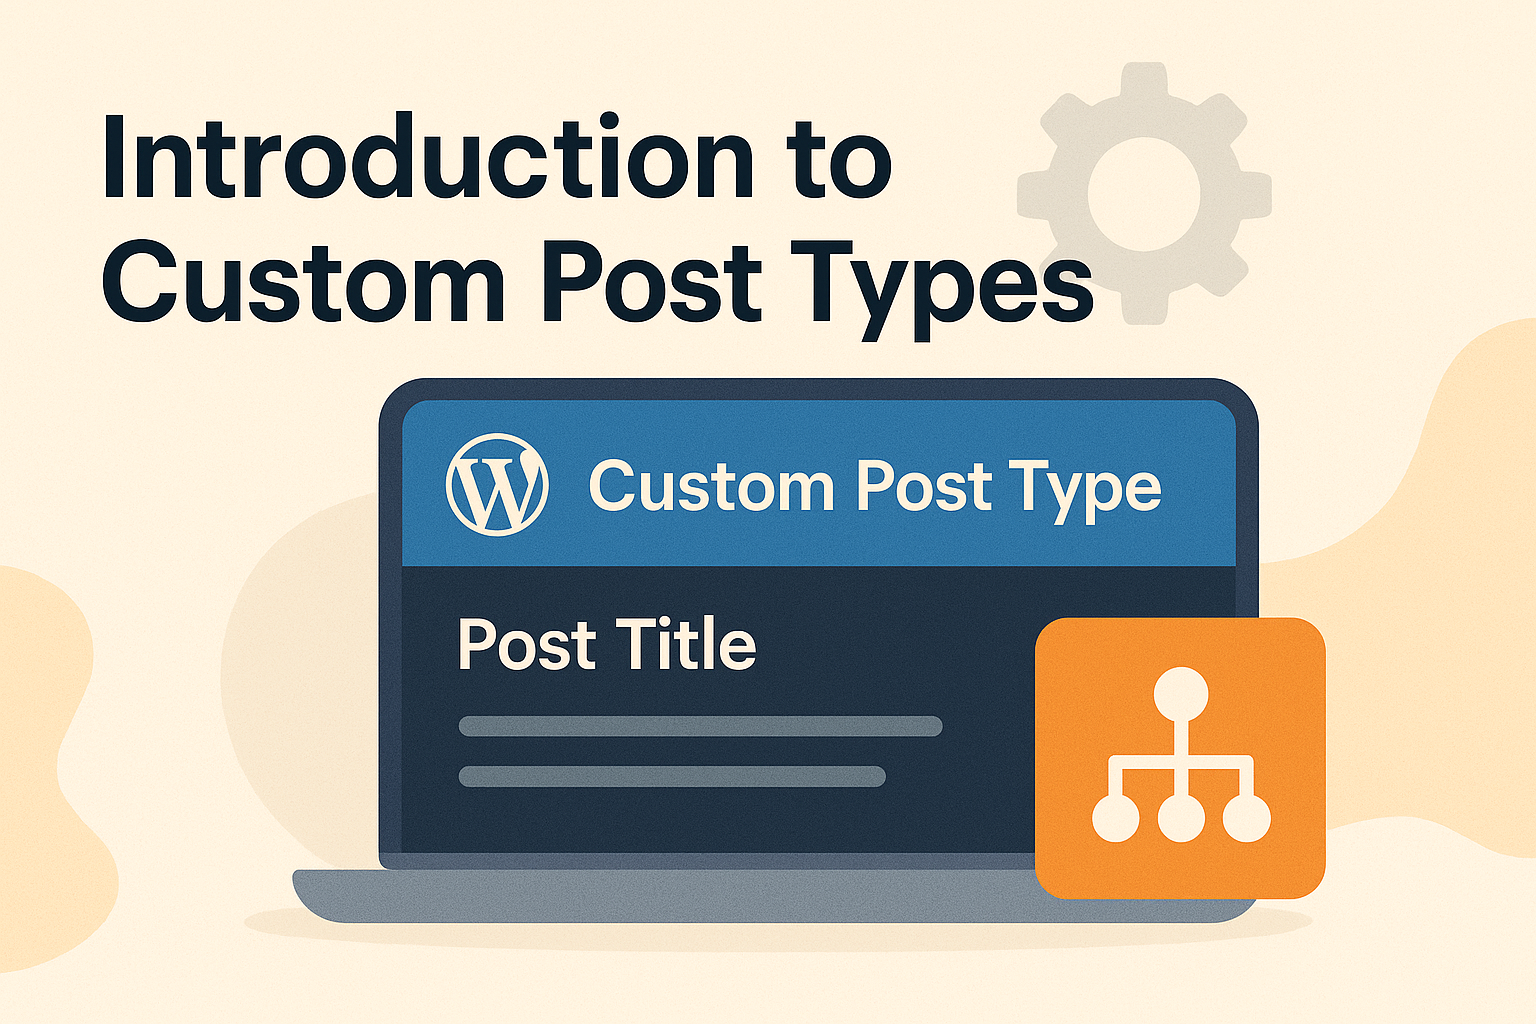
What is a WordPress Custom Post Type?
A WordPress Custom Post Type (CPT) is simply a content type that goes beyond the default “Posts” and “Pages.” Think of it as a custom container for a specific kind of information.
For example:
- A Portfolio post type to showcase design projects.
- A Testimonials post type to collect client feedback.
- A Products post type to display items in an online shop.
- An Events post type to manage upcoming programs.
Technically, WordPress already has built-in post types like post, page, attachment, revision, and navigation menu. But with CPTs, you can create your own custom ones tailored to your project.
Custom post types enable you to manage various types of content with ease. For example, a real estate website can add a ‘Properties’ custom post type just for property listings. This makes navigation clearer for users. It also helps admins extend the site’s functions as content grows or changes.
📌
Now that you know what a custom post type is, you may wonder if you need one for your site.
Not every site needs custom post types. For a simple blog, “Posts” and “Pages” are often enough. As your site grows, separating content types helps, and that’s when CPTs are useful.
Here are some common situations where CPTs make sense:
- Portfolios: Designers, photographers, or agencies can display their work in a dedicated section.
- Testimonials: Businesses can collect and showcase client feedback separately from blog posts.
- Products or Services: Ideal for e-commerce or company websites that want to showcase their offerings.
- Events: Create an events calendar with detailed pages for each event.
- Recipes, Books, Courses, Team Members: Any type of specialized content that deserves its own structure.
The goal is to keep content organized and accessible. Rather than putting everything in “Posts,” custom post types help you manage and display content clearly and professionally.
🔌
Method 1: Create WordPress Custom Post Type – Using a Plugin
If you’re new to WordPress, using a plugin is the easiest way to create a custom post type. You can avoid coding, and the interface is simple.
Step 1: Install a Custom Post Type (CPT) Plugin and Activate it
There are several popular plugins that simplify the process of creating custom post types, including:
- Custom Post Type UI (CPT UI)
- Pods
- Meta Box
- Advanced Custom Fields (ACF) (for creating custom fields and layouts)
For this tutorial, we’ll use CPT UI, a free and popular choice.
Step 2: Add a New Post Type
- Go to CPT UI → Add/Edit Post Types.
- Enter a Post Type Slug (e.g., portfolio). A slug is a URL-friendly version of the word, usually all lowercase and without spaces, that identifies your CPT in website links.
- Fill in labels such as “Portfolio” for both singular and plural.
Step 3: Configure Settings
- Choose features like title, editor, thumbnail, or custom fields support.
- Choose whether it should be displayed in navigation menus.
- Assign existing or new taxonomies if needed. A taxonomy in WordPress is a way to group and organize content, like categories or tags, so you can sort your custom post type more easily.
Step 4: Save and Test
- After saving, you’ll see a new menu in your dashboard.
- Add a few posts to test the feature.
- Visit your site and confirm that the CPT archive and singles work as intended.
Pros of the Plugin Method
- Easy for beginners, no coding skills needed.
- Setup is quick and straightforward.
- Ideal for users needing occasional custom post types.
Cons of the Plugin Method
- Too many plugins may impact site speed.
- Advanced features may still need coding.
💻
Method 2: Create WordPress Custom Post Type – Without a Plugin (Code Method)
If you are familiar with PHP and WordPress development, manually creating a custom post type is an option. This gives you more control and lowers site overhead by skipping plugins.
Step 1: Choose Where to Add the Code
- Best practice: create a small custom plugin or use your child theme’s functions.php file.
- Don’t edit your main theme’s functions.php file, as updates will erase changes.
Step 2: Example Code Snippet
function create_portfolio_post_type() {
    $labels = array(
        'name'               => __( 'Portfolios' ),
        'singular_name'      => __( 'Portfolio' ),
        'add_new'            => __( 'Add New' ),
        'add_new_item'       => __( 'Add New Portfolio' ),
        'edit_item'          => __( 'Edit Portfolio' ),
        'new_item'           => __( 'New Portfolio' ),
        'all_items'          => __( 'All Portfolios' ),
        'view_item'          => __( 'View Portfolio' ),
        'search_items'       => __( 'Search Portfolios' ),
        'not_found'          => __( 'No portfolios found' ),
        'not_found_in_trash' => __( 'No portfolios found in Trash' ),
        'menu_name'          => __( 'Portfolios' )
    );

    $args = array(
        'labels'             => $labels,
        'public'             => true,
        'has_archive'        => true,
        'rewrite'            => array( 'slug' => 'portfolio' ),
        'supports'           => array( 'title', 'editor', 'thumbnail' ),
        'show_in_rest'       => true, // Enable Gutenberg/Block Editor
    );

    register_post_type( 'portfolio', $args );
}
add_action( 'init', 'create_portfolio_post_type' );
Step 3: Add a Custom Taxonomy (Optional)
function create_portfolio_taxonomy() {
    register_taxonomy(
        'portfolio_category',
        'portfolio',
        array(
            'label' => __( 'Portfolio Categories' ),
            'rewrite' => array( 'slug' => 'portfolio-category' ),
            'hierarchical' => true,
        )
    );
}
add_action( 'init', 'create_portfolio_taxonomy' );
Step 4: Test Your CPT
- Navigate to the WordPress admin area. Verify that a new Portfolios menu appears.
- Add content to your custom post type to confirm it is working.
- Visit yoursite.com/portfolio/ to check if the archive page displays correctly.
Step 5: Displaying Custom Post Types on the Front-End
To create a customized and professional front-end for your custom post type, you need dedicated template files—special files that control the display, such as single-portfolio.php and archive-portfolio.php. Please place them in the root directory of your active theme or child theme at /wp-content/themes/your-theme/. Putting them here overrides WordPress’s standard template hierarchy. If they are not in this spot, WordPress will use less specific templates, which may cause layout inconsistencies or poor display.
Single Template (single-portfolio.php)
This file controls the appearance of each Portfolio item.
<?php
get_header();
if ( have_posts() ) :
    while ( have_posts() ) : the_post(); ?>
        <h1><?php the_title(); ?></h1>
        <div class="portfolio-content">
            <?php the_content(); ?>
        </div>
    <?php endwhile;
endif;
get_footer();
Archive Template (archive-portfolio.php)
This file shows all Portfolio items on the archive page (/portfolio/).
<?php
get_header();
if ( have_posts() ) :
    echo '<h1>Our Portfolios</h1>';
    while ( have_posts() ) : the_post(); ?>
        <h2><a href="<?php the_permalink(); ?>"><?php the_title(); ?></a></h2>
        <?php the_excerpt(); ?>
    <?php endwhile;
    the_posts_navigation();
else :
    echo '<p>No portfolio items found.</p>';
endif;
get_footer();
Pros of the Code Method
- No extra plugin; keeps the site lightweight.
- Gives you complete control over options.
- Best choice for developers and power users.
Cons of the Code Method
- Requires some PHP knowledge to use.
- Coding errors can cause site problems.
⚖️
Compare: Plugin vs Code (At a Glance)
| Feature | With Plugin | Without Plugin (Code) |
|---|---|---|
| Setup Difficulty | Easy (UI based) | Medium (PHP required) |
| Speed/Overhead | Depends on plugin bloat | Lightweight (no extra plugin) |
| Flexibility | High with advanced plugins | Very high, full control |
| Learning Curve | Low for beginners | Higher, dev-oriented |
| Maintenance | Update plugin, possible conflicts | Maintain your own code |
| Portability | Easy to replicate via plugin settings | Portable via custom plugin/code |
| Best For | Site owners, non-coders, quick setups | Developers, custom workflows |
Quick Takeaway:
- Want fast, no-code setup? → Plugin
- Want maximum control and minimal overhead? → Code
⚠️
Common Mistakes to Avoid
Be mindful of these common mistakes when creating a custom post type. Identifying them early can save significant time and prevent future issues.
1. Editing the main theme’s functions.php
Always use a child theme or a small custom plugin. Updates to your main theme will erase your changes.
2. Not flushing permalinks after registering a CPT
After registering a CPT, navigate to Settings → Permalinks and click Save. Skipping this step can cause your CPT archives or single pages to return 404 errors.
3. Using a conflicting or capitalized slug
Slugs should always be lowercase, unique, and not conflict with existing pages. For example, avoid registering ‘portfolio’ if a page with that slug already exists.
4. Forgetting has_archive or rewrite rules
To enable an archive page (such as /portfolio/), be sure to set:
'has_archive' => true,'rewrite' => array('slug' => 'portfolio'),
5: Missing essential supports
If you need editor/thumbnail/excerpt, include them:
'supports' => array('title','editor','thumbnail','excerpt')
6: Not enabling show_in_rest (Block Editor & REST API)
For Gutenberg and API usage:
'show_in_rest' => true
7: Registering taxonomy but not attaching to the CPT
Ensure your taxonomy is linked to the CPT handle:
register_taxonomy('portfolio_category', 'portfolio', $args);
8: Hardcoding templates in the wrong place
Put single-portfolio.php and archive-portfolio.php in your (child) theme root, not inside a random folder.
9: Capability & visibility confusion
If you need custom capabilities or private CPTs, set public, show_ui, and capability_type thoughtfully.
10: Over-pluginizing simple needs
If one CPT is all you need, consider the code. Too many heavy plugins can add bloat.
11: Ignoring SEO basics
Use logical slugs, meaningful titles, and consider breadcrumbs/schema if the CPT is public.
12: Not planning field structure
Decide early which custom fields and taxonomies you need; changing later can be messy for content already published.
✅
Best Practices for Custom Post Types
1: Keep CPTs Relevant
Don’t create a custom post type just for the sake of it. Use CPTs when you truly need to separate and organize unique content, like portfolios, events, or products.
2: Combine with Custom Fields and Taxonomies
A CPT becomes much more powerful when paired with custom fields and taxonomies. This allows you to store structured data (such as price, date, and author) and organize content more effectively.
3: Think About SEO from the Start
Set meaningful slugs, use descriptive titles, and consider custom permalinks to enhance your site’s SEO. Start with practical tools like Yoast’s bulk editor to craft meaningful CPT titles. For public CPTs, enable breadcrumbs and schema markup where possible.
4: Plan Content Structure Early
Decide in advance what fields, categories, or tags you’ll need. Changing these later can be messy and confusing once the content is published.
5: Use a Child Theme or Custom Plugin
Always place your CPT code inside a child theme or a custom plugin. This ensures your work doesn’t get wiped out during updates.
6: Test Before Going Live
Verify that your CPT functions across devices, archives load correctly, and custom templates display as intended. Better to fix issues in staging than on a live site.
🎯
Conclusion
Custom post types are a great way to extend WordPress beyond its standard capabilities, allowing it to do more than just posts and pages. They help you organize your content, improve the user experience, and give your site a more professional look.
In this guide, you learned two ways to create a WordPress custom post type:
- The plugin method is quick and beginner-friendly.
- The code method, which offers full control and keeps your site lightweight.
The best method for you depends on your skills and the specific needs of your project. If you’re a beginner or don’t have coding experience, plugins are the easiest option. If you like more flexibility, coding might be the better choice.
Looking for an even easier solution in the future? Stay tuned—we’re working on a plugin that will let you create unlimited custom post types, custom fields, and taxonomies, all with a live editor to manage how they appear on your site.